Welcome to the Honeywell TH8320R1003 Installation Manual, your guide to installing and configuring the VisionPRO 8000 thermostat with RedLINK technology for efficient HVAC control.
1.1 Overview of the TH8320R1003 Thermostat
The Honeywell TH8320R1003 is a VisionPRO 8000 thermostat featuring RedLINK technology for wireless connectivity. Designed for compatibility with various HVAC systems, it offers a user-friendly interface and advanced temperature control. The thermostat includes a wireless indoor sensor for precise temperature monitoring and is known for its energy-saving capabilities. With a sleek design and intuitive setup, it provides reliable performance for home comfort. This manual guides users through installation, configuration, and troubleshooting.
1.2 Importance of Proper Installation
Proper installation of the Honeywell TH8320R1003 thermostat ensures optimal performance, energy efficiency, and system reliability. Incorrect wiring or setup can lead to malfunctions, increased energy consumption, and potential damage to the HVAC system. Following the manual’s guidelines helps maintain warranty validity and guarantees safe operation. Accurate installation also prevents issues like inaccurate temperature readings or connectivity problems with RedLINK accessories, ensuring a seamless user experience and maximizing the thermostat’s advanced features for home comfort and energy savings.
1.3 Safety Precautions and Warnings
Before installing the Honeywell TH8320R1003 thermostat, ensure the HVAC system is powered off to avoid electrical shocks or injuries. Use appropriate tools and follow manufacturer guidelines to prevent damage to the device or system. Incorrect wiring or installation may lead to safety hazards or void the warranty. Always comply with local electrical codes and safety standards. Failure to adhere to these precautions could result in malfunctions, fire risks, or personal injury, emphasizing the importance of careful and correct installation practices.
System Requirements and Compatibility
The Honeywell TH8320R1003 is compatible with most HVAC systems, requires 24V AC power, and supports RedLINK wireless technology for seamless integration with compatible accessories and components.
2.1 Compatible HVAC Systems
The Honeywell TH8320R1003 thermostat is compatible with a wide range of HVAC systems, including gas, oil, electric, and heat pump configurations. It supports single-stage, multi-stage, and dual-fuel systems, offering flexibility for various heating and cooling setups. Proper installation ensures seamless integration with these systems, providing precise temperature control and energy efficiency. Always verify compatibility with your specific HVAC system before installation to ensure optimal performance and avoid potential operational issues.
2.2 Electrical Requirements
The Honeywell TH8320R1003 requires a 24V AC power supply, commonly provided by most HVAC systems. It is compatible with systems using a C-wire (common wire) connection, though some configurations may operate without it. The thermostat typically draws minimal power, with a maximum current consumption of 1VA. Proper wiring ensures reliable operation and prevents damage to the device. Always verify your system’s electrical specifications to meet the thermostat’s power requirements for optimal performance and safety.
2.3 RedLINK Technology Overview
RedLINK Technology is Honeywell’s advanced wireless communication system, designed to enhance the performance and efficiency of home comfort systems. It enables seamless communication between the TH8320R1003 thermostat and other RedLINK-enabled devices, such as sensors and accessories, ensuring reliable control and optimal system operation. This technology eliminates the need for wired connections, providing greater flexibility and ease of installation. With RedLINK, users can enjoy improved system responsiveness and advanced features that contribute to a more comfortable living environment.
Pre-Installation Steps
Ensure the system is powered off, gather tools, and prepare the installation site. Plan the layout and verify compatibility with existing HVAC systems for smooth installation.
3.1 Gathering Necessary Tools and Materials
To begin, collect essential tools like a screwdriver, drill, and voltage tester. Ensure you have mounting screws, wall anchors, and wiring connectors. Verify compatibility of tools with the Honeywell TH8320R1003 model to avoid installation issues. Additionally, prepare a ladder or step stool for safe access to the installation area. Having all materials ready ensures a smooth and efficient installation process without delays.
3.2 Understanding the Thermostat Components
Familiarize yourself with the Honeywell TH8320R1003 components, including the display screen, temperature sensor, and wiring terminals. Identify the mounting plate, batteries, and wireless sensor. Each part plays a crucial role in thermostat functionality. Understanding their locations and purposes ensures proper installation and operation. Refer to the diagram in the manual for a visual guide to avoid confusion. This step is essential for a successful installation.
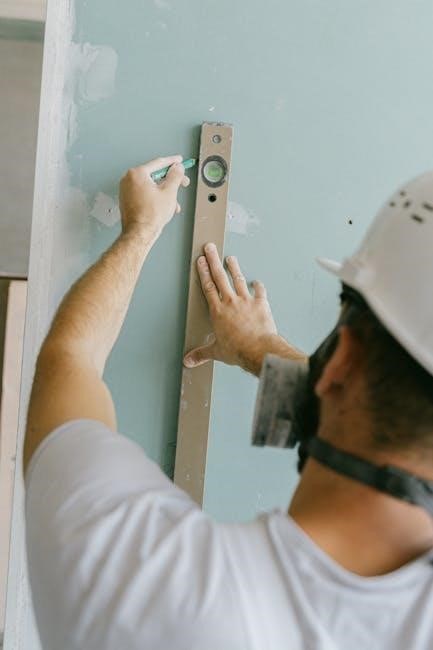
3.3 Preparing the Installation Location
Ensure the installation area is clean, dry, and free from obstructions. Choose a central location for accurate temperature sensing. Avoid direct sunlight, drafts, or moisture-prone areas. Verify the wall type and ensure it can support the thermostat’s weight. Check for existing wiring or plumbing that may interfere. Turn off power to the HVAC system before starting. Ensure the installation location complies with local building codes and safety standards. Proper preparation ensures a safe and efficient installation process.
Installation Process
The installation involves mounting the thermostat, connecting wires, and installing sensors. Follow step-by-step instructions, ensuring all connections are secure and properly configured for optimal performance and safety.
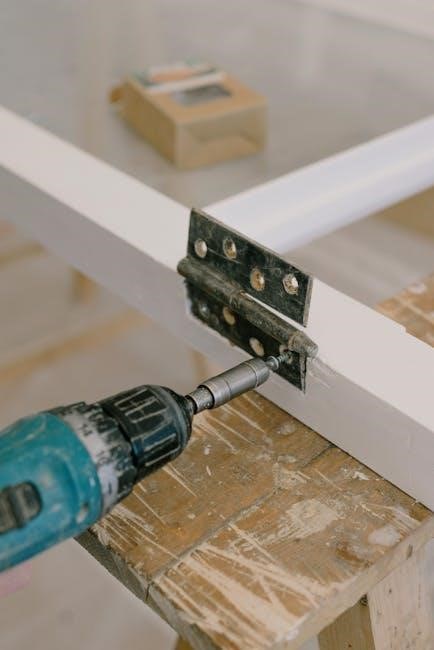
4.1 Mounting the Thermostat
Begin by removing the old thermostat and preparing the wall. Ensure the surface is clean and level. Use the provided wall anchor if necessary. Attach the thermostat subbase to the wall, aligning it with the desired position. Secure it firmly using screws. Mount the thermostat onto the subbase, ensuring it clicks into place. Verify the thermostat is level and properly seated. Follow the manufacturer’s guidelines for precise alignment and secure mounting to ensure proper functionality and avoid damage.
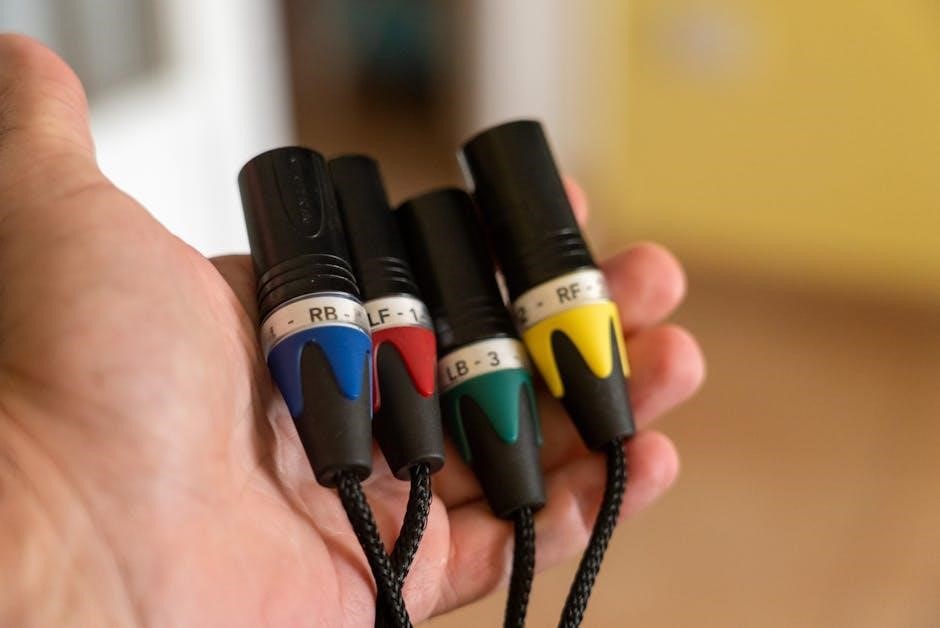
4.2 Wiring Connections and Diagrams
Refer to the provided wiring diagram for specific terminal connections. Identify the R, W, Y, G, and C terminals. Connect the wires from your HVAC system to the corresponding terminals on the thermostat. Ensure the power is off before making any connections. Use a screwdriver to secure the wires tightly; Double-check all connections for accuracy. If your system requires a common wire (C), ensure it is properly connected. Verify compatibility with your HVAC system’s wiring configuration before proceeding.
4.3 Installing the Wireless Indoor Sensor
Place the wireless indoor sensor in a central location, away from direct sunlight and drafts. Use the provided wall bracket to mount it securely. Insert the batteries, ensuring correct polarity. Pair the sensor with the thermostat by following the on-screen instructions. Check the signal strength to ensure proper communication. Ensure the sensor is at least 20 feet away from the thermostat for optimal performance. Refer to the pairing guide in the manual if issues arise during setup.
4.4 Final Installation Checks
After completing the installation, perform a series of final checks to ensure proper functionality. Verify all wiring connections are secure and correctly matched. Test the thermostat by adjusting the temperature to confirm heating or cooling activation. Check the wireless sensor’s signal strength and ensure it communicates with the thermostat. Confirm the device is mounted level and all components are powered on. Review the system’s response to temperature changes and ensure no wires are exposed for safety. Refer to the manual if any issues arise during these checks.
Configuration and Setup
This section guides you through configuring the thermostat, including initial setup, scheduling, and integrating with RedLINK accessories for seamless smart home functionality.
5.1 Initial Thermostat Configuration
After installation, power on the thermostat and follow the on-screen prompts. Set basic parameters like temperature units (°F/°C), date, and time. Use the touchscreen interface to navigate through the initial setup wizard. Ensure all system options are configured correctly, such as heat/cool schedules and fan settings. Default settings are pre-programmed, but customization is available. If the system doesn’t power on, check wiring connections and ensure the HVAC system is compatible. Proper initialization ensures optimal performance and functionality.
5.2 Setting Up the Schedule
Setting up a schedule on the Honeywell TH8320R1003 allows you to program temperature changes throughout the day. Access the schedule menu by navigating to the “SCHEDULE” option. Set temperature points for wake, leave, return, and sleep periods. Choose from pre-set templates or customize based on your preferences. Ensure the schedule aligns with your daily routine for optimal energy efficiency and comfort. Save your settings to activate the schedule. This feature helps reduce energy consumption when spaces are unoccupied.
5.3 Integrating with RedLINK Accessories
Integrating RedLINK accessories with the Honeywell TH8320R1003 enhances system functionality. Use the RedLINK wireless technology to connect devices like outdoor sensors or additional thermostats. Pairing is done via the thermostat menu, ensuring seamless communication. This integration allows for remote temperature monitoring and advanced energy management. Compatible devices can be added to create a network that optimizes comfort and efficiency. Follow on-screen instructions to pair and configure RedLINK accessories for a fully connected system.

Advanced Features and Customization
The Honeywell TH8320R1003 offers advanced features like customizable temperature settings, energy-saving modes, and interface personalization. Explore these options to tailor your system for optimal comfort and efficiency.
6.1 Using the VisionPRO 8000 Interface
The VisionPRO 8000 interface offers an intuitive touchscreen for seamless navigation. It allows users to program schedules, adjust temperature settings, and access advanced features like energy usage reports. The interface is fully compatible with the TH8320R1003, enabling smart home integration and remote control through Honeywell’s app. Its high-resolution display ensures clear visibility, while customizable themes match your home’s aesthetic. This interface enhances convenience and efficiency, making it easier to manage your HVAC system effectively.
6.2 Customizing Temperature Settings
The TH8320R1003 allows users to customize temperature settings for optimal comfort. You can set temperature ranges, create schedules, and adjust heating and cooling thresholds. The thermostat features precise temperature control, enabling you to fine-tune settings to suit your preferences. Use the touchscreen interface to easily modify settings or lock temperatures within a specific range to maintain consistency. Customizable temperature alerts notify you of deviations, ensuring your system operates efficiently and maintains desired conditions.
6.3 Energy-Saving Features
The TH8320R1003 incorporates advanced energy-saving features to reduce utility bills. Its Energy Star certification ensures efficient operation. Smart recovery learns your system’s operation to optimize pre-heating/cooling. Programmable schedules allow temperature adjustments based on occupancy. Energy usage reports provide insights into consumption patterns. Enable energy-saving mode to restrict temperature settings, minimizing energy waste. These features work together to enhance comfort while promoting eco-friendly operation and cost savings.

Troubleshooting Common Issues
Troubleshooting the TH8320R1003 involves identifying and resolving issues like blank screens, connectivity problems, or inaccurate temperature readings. Refer to error codes for specific solutions.
- Power issues: Ensure proper wiring and battery levels.
- Connectivity: Check wireless signal strength and sensor placement.
- Temperature inaccuracies: Calibrate sensors or reset the thermostat.
- Error codes: Consult the manual for detailed explanations.
- Sensor malfunctions: Replace faulty sensors if necessary.
- Display issues: Restart the thermostat or update software.
Regular maintenance and updates can prevent many common problems.
7.1 Error Codes and Their Solutions
The TH8320R1003 displays error codes to help diagnose issues. Common codes include E1, E2, and E30. E1 indicates a sensor malfunction, while E2 signals temperature discrepancies. E30 refers to communication failures with RedLINK accessories. Solutions include checking sensor connections, recalibrating temperature settings, or restarting the system; For E30, ensure the wireless signal is strong and accessories are properly paired. Always refer to the manual for specific troubleshooting steps and detailed solutions to resolve errors effectively and maintain optimal performance. Regular checks can prevent recurring issues.
7.2 Resolving Connectivity Problems
Connectivity issues with the TH8320R1003 often relate to wireless communication. Ensure the thermostat and RedLINK accessories are within range and free from physical obstructions. Restart the system by disconnecting power for 30 seconds. Check for firmware updates, as outdated software can cause disconnects. Verify that the RedLINK gateway is properly connected and configured. If issues persist, reset the thermostat to factory settings and re-pair all devices. Consult the manual for detailed pairing instructions and troubleshooting steps to restore connectivity quickly and reliably.
7.3 Addressing Sensor Malfunctions
Sensor malfunctions can disrupt temperature accuracy. First, clean the sensor to ensure no dirt or debris is blocking its operation. Verify the sensor is properly seated and aligned. Check wiring connections for damage or corrosion. If issues persist, recalibrate the sensor through the thermostat menu. In severe cases, replace the sensor with a compatible Honeywell part. After any repair, restart the system and confirm proper functionality. Always refer to the manual for detailed sensor troubleshooting and replacement procedures to maintain precise temperature control and system efficiency.

Maintenance and Upkeep
Regular maintenance ensures optimal performance. Clean the thermostat, inspect wiring, and update software. Replace batteries in sensors as needed. Schedule annual checks for system efficiency and reliability.
8.1 Cleaning the Thermostat
Regularly clean the Honeywell TH8320R1003 to ensure optimal functionality. Use a soft, dry cloth to wipe the display and exterior. Avoid harsh chemicals or liquids, as they may damage the device. Gently remove dust from vents or sensors to maintain accurate temperature readings. Cleaning helps prevent malfunctions and ensures the thermostat operates efficiently. Perform this maintenance every 2-3 months or as needed, especially in dusty environments. Keep the device free from debris to uphold its performance and longevity.
8.2 Replacing Batteries in Sensors
To maintain optimal performance, replace the batteries in the wireless sensors annually or when the low-battery indicator appears. Use high-quality AA alkaline batteries for reliable operation. Turn off the thermostat’s power supply before replacing batteries. Open the sensor’s battery compartment, remove the old batteries, and insert the new ones, ensuring correct polarity. Replace the compartment securely and power on the system to verify proper functionality; Regular battery replacements prevent sensor malfunctions and ensure accurate temperature readings.
8.3 Regular Software Updates
Regular software updates ensure your Honeywell TH8320R1003 thermostat operates with the latest features and security enhancements. Periodically check for updates via the thermostat’s menu or through the RedLINK app. Select “Update Software” and follow on-screen instructions. The thermostat may restart during the process. Always complete the update to maintain system performance and compatibility. Updated software improves functionality, resolves bugs, and enhances energy efficiency. Schedule regular checks to keep your system optimized and secure.
Congratulations! You’ve successfully installed and configured your Honeywell TH8320R1003 thermostat. Proper installation ensures optimal performance, energy efficiency, and comfort. Refer to the manual for future adjustments.
9.1 Final Checks for Proper Functionality
After installation, test all features to ensure proper functionality. Verify heating, cooling, and fan operations. Check the schedule settings and sensor accuracy. Confirm RedLINK connectivity and review error codes. Ensure the display is responsive and all buttons function correctly. Verify battery levels for wireless sensors. Perform a full system cycle to confirm smooth operation. Address any issues promptly to avoid performance problems. Proper functionality ensures energy efficiency, comfort, and system longevity.
9.2 Warranty and Support Information
The Honeywell TH8320R1003 thermostat is backed by a limited warranty covering defects in materials and workmanship. Register your product for extended support and warranty benefits. For assistance, visit Honeywell’s official website or contact their customer support team. Additional resources, including FAQs and user manuals, are available online. Ensure to retain your purchase receipt for warranty validation. Honeywell’s dedicated support ensures reliable assistance for any installation or operational queries.
9.3 Resources for Further Assistance
For additional support, visit Honeywell’s official website to access detailed manuals, FAQs, and troubleshooting guides. Contact Honeywell’s customer support team directly for personalized assistance. Online forums and YouTube tutorials also offer helpful installation tips. Ensure to register your product for enhanced support benefits. Honeywell’s comprehensive resources are designed to address any queries and ensure optimal performance of your TH8320R1003 thermostat.